I was digging through their Project Life materials when I came across these things called Smashbooks. Smashbooks? What the heck is that? I picked them up, I examined them. I looked at all the fancy add ons that came with them. Interesting concept. I've been journaling since I was nine. Yes nine. I have an 18 gallon tote in my garage filled with old planners and various journals and diaries I've been completing since I was a kid. I even have my old agendas from middle school. (Seriously? But what an insight into what my life was like at age 12 and what I was into - hello stickers!)
However, since college (oh so long ago it feels) I've been bad about journaling. I've tried different techniques but I just couldn't seem to keep up with the day to day telling of my life (welcome adulthood!) In the last few years the journals that I have been most successful at filling out and keeping up with are those that don't require the day to day information. Let's face it, my day to day life is boring. I wanted something more meaningful. As I continued looking at Project Life layouts on Pintrest I looked at the journaling cards and some cards were things that were too personal for me to share with others - which for me is the point of Project Life.
I've been under a great deal of stress lately (8 months pregnant to start with) and I decided that I need a way to unwind at the end of each day. However, I also needed something flexible, something that won't make me upset if I miss a day (or three). Something that will help me grow as a person. Something that would help me release my anxieties and stress. Something that would help me realize who I really am. I kept coming back to the Smashbook concept.
Flash forward to last week and I went to Hobby Lobby. I wandered up and down the aisles looking for Smashbooks. Finally found them, in the clearance bin. Guess Hobby Lobby isn't going to carry them anymore. Oh well. I spent a good 45 minutes or more looking through the various Smashbooks (the sizes, the papers in them, the dividers, etc). I wasn't completely sold on the concept. I couldn't insert my own pages or items into the Smashbooks unless I started getting creative. Plus I didn't know if I wanted to spend $10 or more for a journal (yes, $10 or more for a clearance item!) that I may or may not keep up with.
So I came home and started digging through Pintrest (yes, once again) to find people who had created their own Smashbooks. There were TONS. As I looked through various pins and ideas, it finally dawned on me that I had everything I needed to create a Smashbook at home. I didn't purchase a single material. (Of course, I'm a craft hoarder).
Here's what I used:
1. 12 x 12 black sheet of cardstock
2. Various 12 x 12 scrapbooking papers
3. Glue stick
4. Scotch tape
5. 3 binder rings
6. Precut letters
7. Hole punch
8. Paper cutter
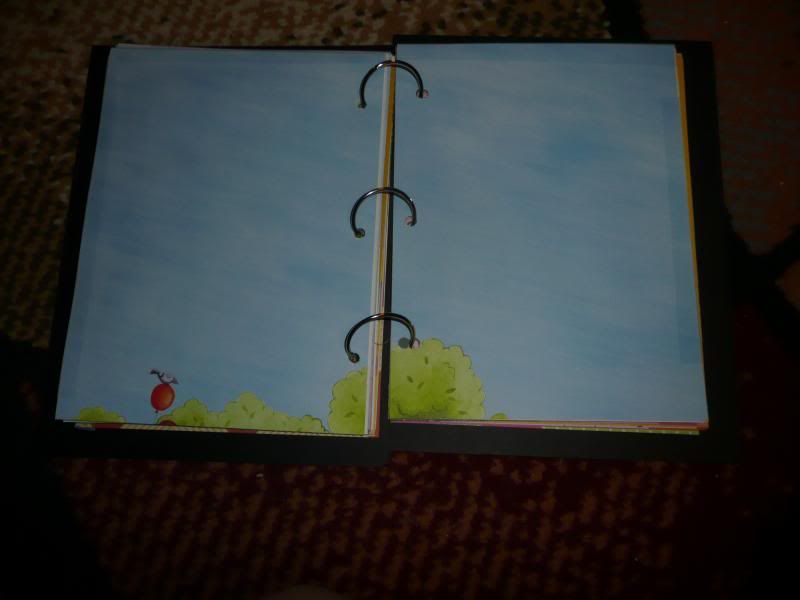
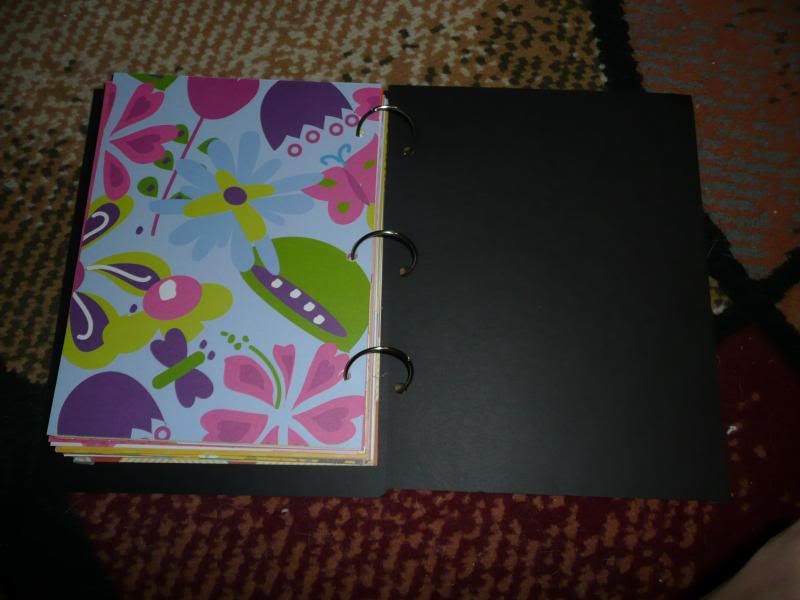
I used my paper cutter to cut down the 12 x 12 sheets into two 6 x 8 sheets. (I saved all the extra cardstock to use as journaling cards later on). Then I used the glue stick to glue together the papers, so that the journal papers are double sided. This also provided more stability and allows me to sharpies (I love sharpies!) without the marker bleeding through. After gluing the pages together I used scotch tape (clear) to tape up the tops and right sides of the papers. This helps keep the pages together while turning the book (I would so pick at the pages otherwise!)
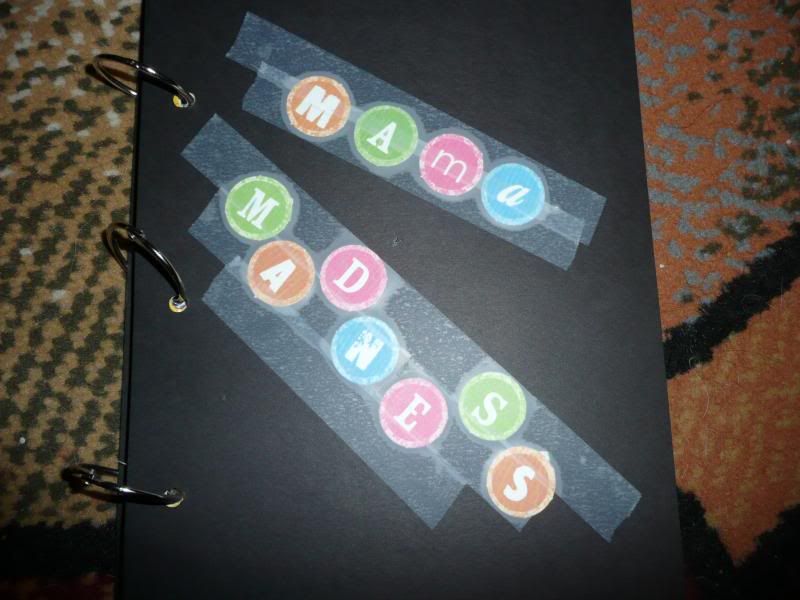
After that I cut the black card stock down to 9 x 7 size. One side is the front, the other side is the back of the book. I then glued the letters "Mama Madness" to the front cover. It seemed more appropriate than Smashbook. I then used the hole punch to punch three holes into each piece of cardstock. I did the covers last to help keep on the pages more centered within the covers. I was going to laminate the covers but was too lazy last night to go upstairs, turn on my laminator, wait, laminate, and cut. Maybe I'll laminate down the road, maybe I won't. Who knows? I took scotch tape and covered the cover letters with it because I thought it gave it an artsy type of feel to it.
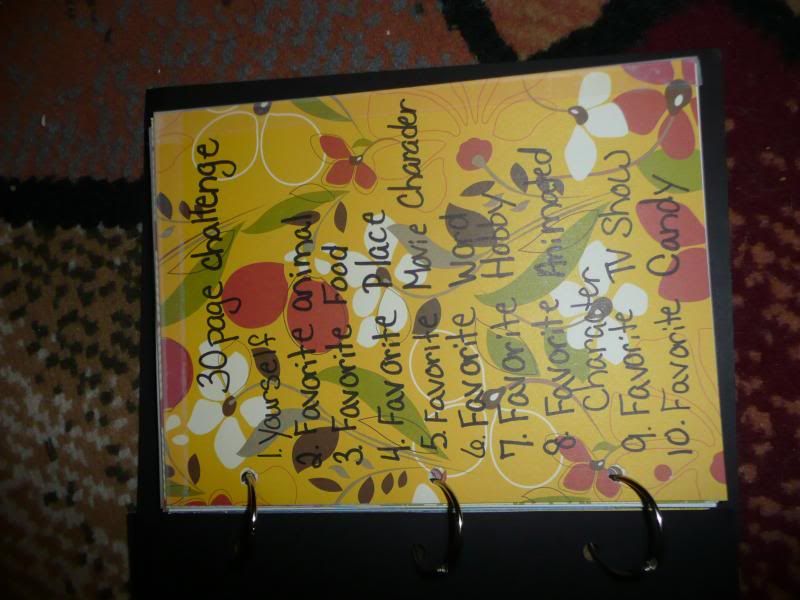
I'm best at journaling with guided questions and thoughts. Give me an empty journal and pft, I'm back in the same situation as I was before. I found a 30 page challenge for smashbooks on pintrest (told you I was addicted), so I took the first few pages of my new smashbook and wrote (in sharpie, love the sharpies) and wrote down the 30 challenges.
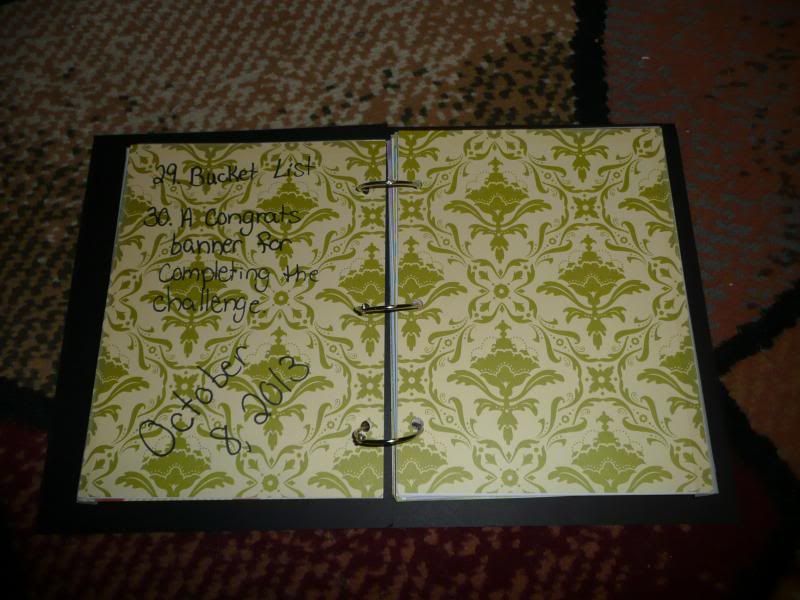

My goal is to get through the 30 challenges and then begin a new challenge. Smashbook/journaling challenges are hard to come by, apparently. If you find any, let me know! Otherwise, I'll probably start creating my own. With themes. I'm crazy...
On a side note, this a great way to use up all that extra scrapbooking paper! You know you have paper in your stacks that you can't stand. Paper that was either gifted to you by someone who knows nothing of your style, extra papers you got in a large paper pack that you can't stand, papers you got a scrapbooking swap... the list goes on. But you just can't seem to get rid of that paper. Well, here you go!